

I love pictures. It can be a tough to capture the true beauty of nature, but I love that the photos can take you back to a moment in time, and help me remember how I felt at that time. Who I was with. Where we were. What time of day it was. What the weather was like. What happened right before that picture, etc. And the fact that technology has evolved to where we can instantly see these photos, while also taking (almost) as many as we want, still gets me every time.
While we have lots of fun friends that take alot of our amazing group venture pics : Marcus Catlett, Ben Moisen, and Austin Lutz, we’re looking atcha… they aren’t exactly at our disposal when it comes to pictures. When we take hikes or see views when it’s just the two of us, Nic and I usually resort to the the self timer.
Let’s a look at the self-timer gold mine we have created in the past three years:
Now, we’re gonna take a look at the highlights of some of them to talk about how to use the self-timer to its top potential.

This was the first fireeeee self-timer picture we took. First of all, any picture in Yosemite is absolutely stunning. But, second, it offers beautiful rocks to help prop up your camera. Use the nature around you. Rocks and branches help you set up your camera in a practical spot to get the shot.
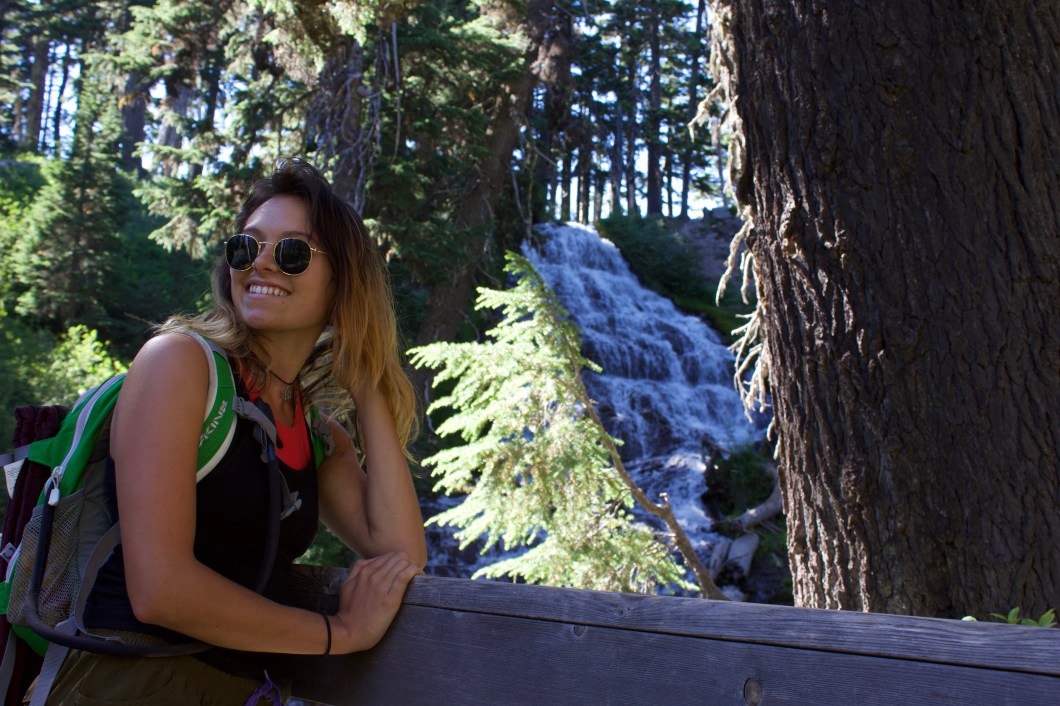
Nature isn’t your only tool. Use man-made objects to your advantage. Whether it’s bridges, fence posts, or walls, it usually means that a good view is close.

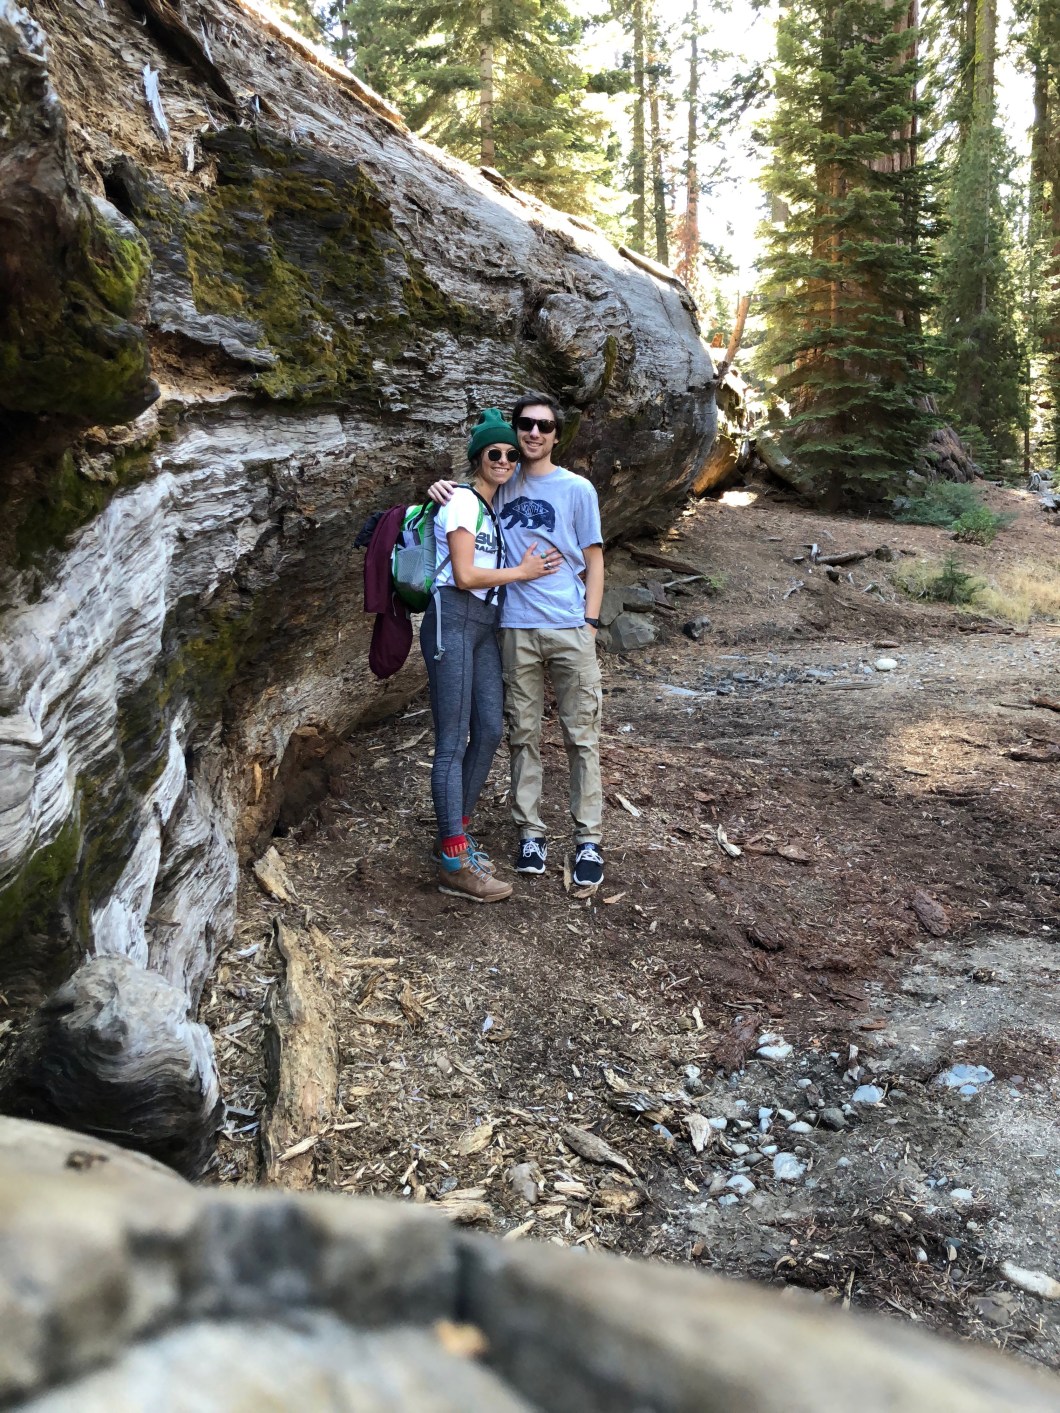
Man-made also means your gear. Sometimes backpacks, ski poles, or straps can help give you a good point of view to enhance your picture instead of just setting your phone on a small rock. Hang your backpack in a tree and set it in the front pocket. Stick your ski pole in the snow and set your mitten on it to jerry-rig a phone holder. Use your creativity!
 Now you’ve got the perfect place to set your phone, but next, make sure it’s secure. The next worst thing to a bad picture is a shattered phone screen from falling four feet straight onto a rock… or worse… it falling off a cliff. Instead of propping it the front of the screen (assuming you’re using the back camera), set it up so the back of your phone is angled downwards and towards you, setting it against a rock or branch. Not only does this help by getting rid of an obnoxious amount of head room from an upwards angle, but it also usually means your phone won’t fall forward to the ground.

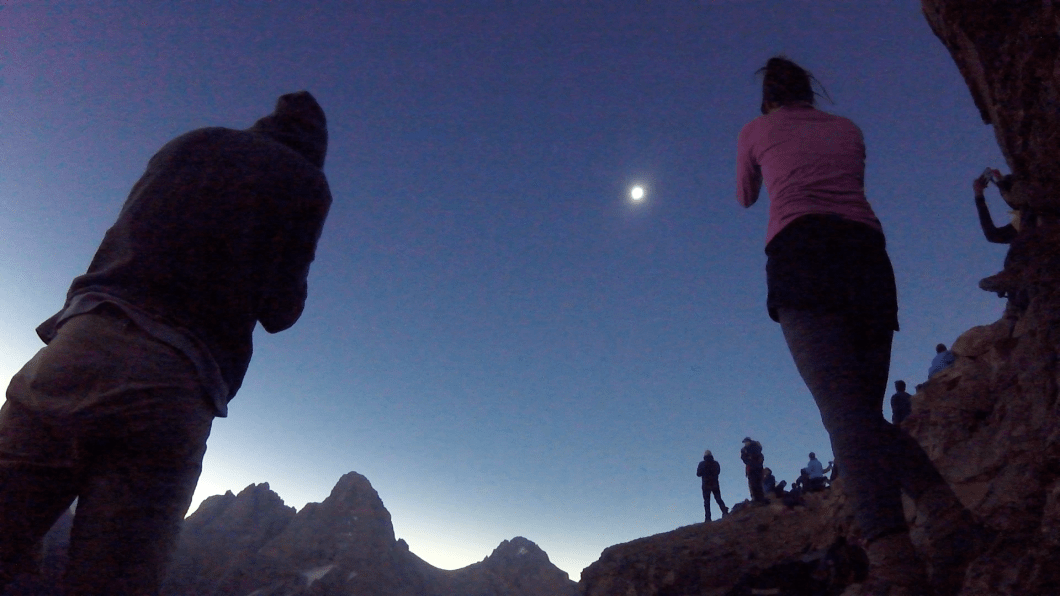
Next up, your pose. Your poses are limited with your self-timer. Portraits are the least likely to take because it’s hard to get the right focus and the right angle if the environment isn’t appropriate. On the other hand, seated positions help with the low point of view, plus, they let you give a chill aesthetic at these beautiful destinations.
Lastly, don’t let bad angles frustrate you. If you don’t get the perfect shot, it still led you to a picture that captured the moment right then and there.
Share your self-timer photos and tag us!
